Equitrac Notifier Setup
The Equitrac Notifier application screen is shown below.
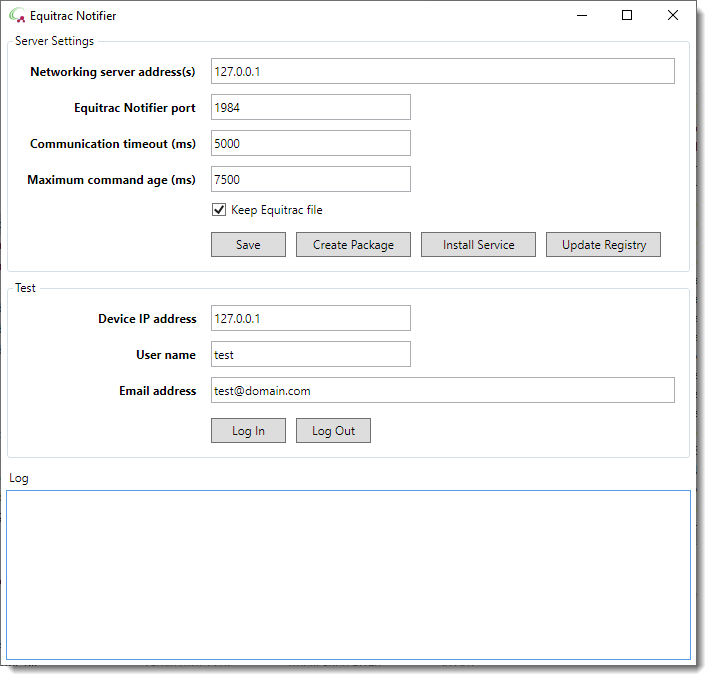
Server Settings
ScannerVision Networking Server address
The IP address of the ScannerVision Networking Server. If this value is left blank it is assumed that the ScannerVision Networking Server is installed on the local machine.
Equitrac Notifier port
The HTTP port on which the Equitrac Notifier communicates with the Networking Server.
Note
If you change this port you have to change it on the Networking Server also and you have to make sure that the port is allowed through the server’s firewall.
Communication timeout
The timeout that is allowed for successful communication to the ScannerVision Networking Server. The default is 5000 milliseconds.
Keep Equitrac file
When this option is selected the Equitrac Xml file is not deleted after processing.
Save
Saves the current settings in the “C:\ProgramData\ScannerVision\Config\EquitracSettings.xml” file.
Create package
Creates a Zip archive of all the files that are necessary to run the Equitrac Notifier application. When you click this button you are prompted to select a folder where the package must be created. Make sure that the folder you select is completely empty otherwise you will get an error.
The “EquitracNotifier.zip” package that is created can be extracted on any machine into any desired directory.
Update Registry
As of this writing the Equitrac server looks in a specific Windows Registry key for the path of the external application that is to be called when a user signs in or out of Equitrac. To simplify this process press the “Update Registry” button to update the registry key with the path of the Equitrac Notifier application.
Note
You have to run the Equitrac Notifier application with administrator privileges before you will be able to use this facility.
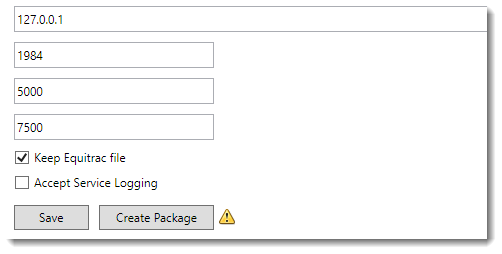
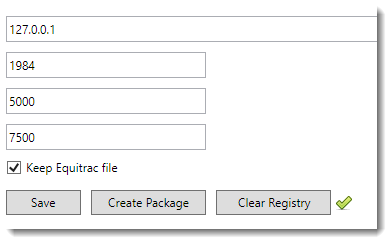
If the “Update Registry” button is not available there could be one of 2 reasons:
- You are not running the application with administrator privileges and the registry key does not exist or does not point to the current path. The button will not appear:
- The registry is up to date. In this scenario a green check mark will be shown next to the button like this:
Test
You can test your settings by simulating an Equitrac server sign in or sign out event. Provide the IP address of the simulated MFP client, the user name and email address of the user you want to sign in or out and then press the respective button of the action you want to simulate. The ScannerVision log window will show the activity if everything is configure correctly. Make sure that the ScannerVision Networking Server is running and that the log level is set to “Detailed”.
Device IP address
The IP address of the MFP client on which the user is to be signed in or out.
User name
The user name of the user you want to sign in or out.
Email address
The email address of the user you want to sign in or out.
Log In / Out
Press the respective button to sign the user in or out.